
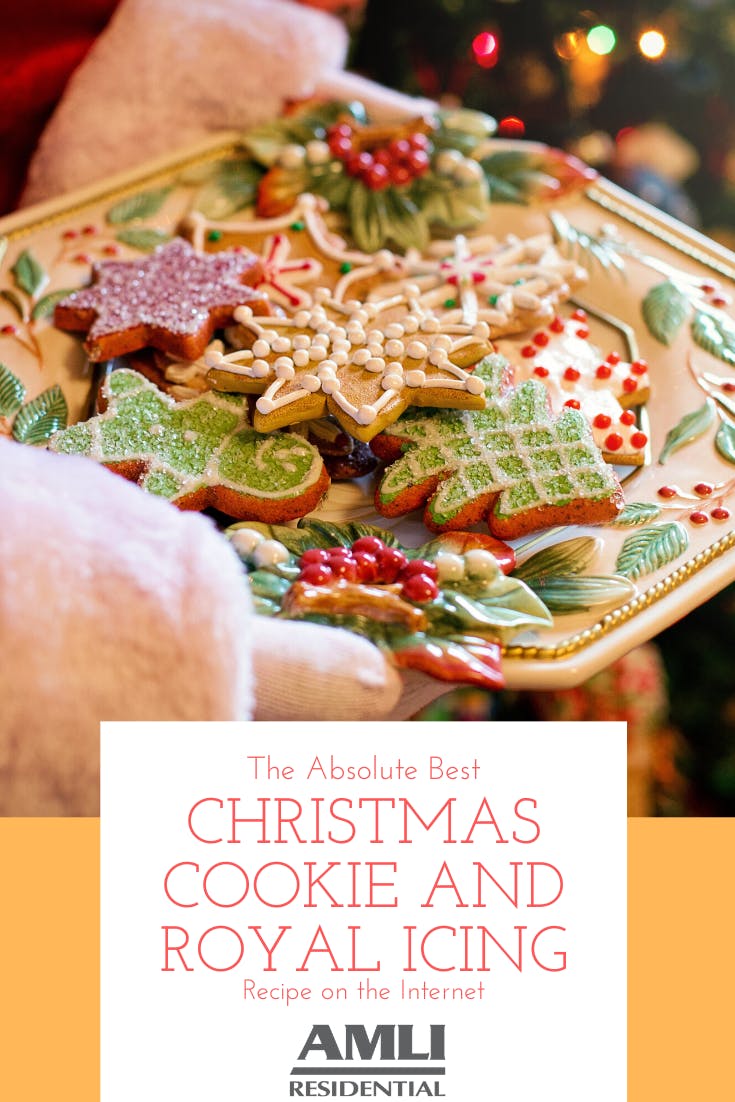
It’s the time of the year when cookies are all the rage. Santa cookies, Kwanzaa cookies, Menorah cookies, reindeer cookies: the possibilities are endless! It’s not hard to make your batch of sugary delights look totally Instagram-worthy. Just follow these tips to find out what to do and how to do it, and we guarantee that your cookies will be Insta-worthy in no time.
Making the perfect cookies
The trick to making the perfect dough for cookie shapes is to have a mix that doesn’t expand when it bakes. Stay away from cookie recipes that include baking powder, as the rising agent can make cookie shapes bloat and warp in the oven. A dough without baking powder will keep its clean, sharp edges right to the end of the bake.
Another important trick for keeping cookie shapes clean and neat is to chill the dough after mixing and after cutting. The process of rolling, kneading and cutting out the dough heats the butter up in the mix, making the mixture soft and easy to tear.

TIP: Chilling the dough before rolling it out will make it easier to roll, cut and remove shapes.
Use your favorite cookie cutters to stamp out the shapes you want. Once the shapes are cut, place them on a plate or cookie sheet and stick them in the freezer for a few minutes. The cold will chill the butter in the dough and ensure that the shapes stay formed in the oven.
Bake the cookies just until the edges start browning. The cookie dough for sugar cookies usually bakes pretty quickly, so keep an eye on them in the oven to make sure they don’t get burnt, especially if you have cookie shapes with small, intricate pieces (think snowflakes, reindeer, letters, etc...).
Mastering the royal icing
Perfecting a royal icing recipe is the key to a successful cookie batch. The meringue powder in the icing allows the mix to set hard, making the cookies perfect for intricate decorations. The amount of meringue powder determines how hard the icing will set, so getting the perfect ratio is important for making the decoration successful.
The consistency of the icing, which is determined by the ratio of powdered sugar to liquids, will make or break your decorating experience. If the icing is too thick, then it will not smooth out. If it is too thin, then it will be too runny to dry well. Generally, a good rule of thumb is to add powdered sugar to the mix of water and meringue just until drizzled streaks start to smooth out in the bowl. Check out this article on royal icing consistency to learn more.
TIP: Adding food coloring can change the consistency of the icing, too.
If the icing gets too runny after adding your liquid food colors, add a little more powdered sugar to balance it back out. Essentially, making the perfect royal icing is going to be a trial-and-error experience. The consistency and setting-power of the icing isn’t down to a specific science, so you may have to add more powdered sugar or water than the recipe calls for.
Decorating the cookies
This is where it can get tricky.
There are two terms used most often when decorating with royal icing. “Outlining” is using a fine-tip piping bag to draw a thin line around the area of your color, and “flooding” is using a larger tip to fill that area with icing.
TIP: You can either use a Ziploc bag or a piping bag for icing the cookies.
The Ziploc bags are handy in a pinch, but the piping bags offer more structure and stability, which is great for fine details. Also, if you want to use icing tips, then the piping bags will work better with those than the Ziplocs will.
One you have your cookies have cooled and the icing bags are ready, it’s finally time to decorate! This is where you can express all the creativity you want — the world (or, rather, the cookie) is your canvas. Go wild!
Start by drawing an outline on your cookie using the techniques shown in the video below. Flood the area with the color you desire and use a toothpick to smooth out the lumps of crumbs. Add sprinkles or glitter, if using, while the icing is still wet so that it sticks to the cookie.
TIP: If you want your colors and patterns to blend seamlessly together, ice them at the same time as they will flatten and harden together. If you want there to be more texture, then wait for the first layer to dry before adding the second.
Set the decorated cookies aside until they are dry to the touch before stacking them in a box or tin. For more info, this article on cookie decorating is a helpful resource.
So, now that you know how to make, prepare and decorate some awesome holiday cookies, here’s a tried-and-true recipe to test it all out on your own! Plus, keep scrolling to find all the inspiration you could want for Christmas cookies, Hanukkah cookies, Kwanzaa cookies and any other holiday cookies you could think of.
Enjoy!
Holiday and Christmas Cookie Recipe
Cookies
- ⅓ cup butter or margarine
- ⅓ cup shortening
- ¾ cup sugar
- ⅛ teaspoon salt
- 1 egg
- 1 teaspoon vanilla
- 2 cups all-purpose flour
Royal Icing
- ¼ cup warm water
- 2 tablespoons meringue powder
- 4 cups powdered sugar
- ¼ teaspoon clear vanilla essence
- Food coloring of your choice
Supplies
- Hand beater
- Wilton piping bags
- Wilton piping tips
- Scribe tool or Toothpick
For the cookies
Preheat the oven to 375°.
Beat the butter and shortening on medium speed for 30 seconds. Add sugar and salt. Beat until combined, making sure to scrape the bowl so the mixture is thoroughly mixed. Add eggs and vanilla and beat until combined. Beat in flour ¼ cup at a time, mixing in the rest with a spoon or kneading it if the beater can’t mix all of it.
Cover the dough with cling wrap and leave to chill in the fridge for 3 hours or until easy to handle.
On a lightly-floured surface, roll out the dough to a ¼ inch thickness. Use cookie cutters to cut out desired shapes, transferring them to an ungreased baking sheet an inch apart. Place the baking sheet in the freezer for 5 minutes to allow the dough to cool.
Bake the cookies on an ungreased baking sheet for 7-8 minutes or until golden brown. Leave to cool completely on a wire rack before decorating them.
For the royal icing
Beat the meringue powder and water in a medium bowl until combined. Add the vanilla.
Add the powdered sugar 1 cup at a time, mixing until combined each time before adding another cup. Add water and powdered sugar as needed until the drizzled mixture smooths into itself.
Separate icing into however many bowls you need for each food coloring being used. Add food coloring and mix with a spoon until the color is consistent. Additional powdered sugar may need to be added if the consistency changes.
Transfer the colored icing into piping bags and tie off the bags with a rubber band.
More Christmas cookie inspiration
Here are some ideas for your next cookie-making-endeavor!
Featured photo courtesy Pixabay/blogmood_

Colleen Ford is a South African who now lives on Oahu in Hawai'i. She loves to travel, camp, spearfish and hike. She's also part of a super cool canoe club and is pretty decent at it. Colleen enjoys Star Wars and also not being cold ever.